In this project, we’ll focus on installing the Zabbix server and setting it up with high availability (HA). Zabbix is a powerful open-source monitoring solution used for tracking performance and availability of IT systems. By the end of this guide, you will have a fully functional Zabbix server configured for high availability (HA), ensuring continuous monitoring even in case of server failure.
To summarize, in this project, we will:
- Install the Zabbix server.
- Set up the Zabbix frontend for monitoring.
- Enable Zabbix’s server high availability (HA) for fault tolerance.
Technical Requirements
We’ll be starting this project with an fresh Linux virtual machine. Feel free to choose a RHEL or Debian-based Linux distro. Then we’ll set up a Zabbix server from scratch on this host.
I’ll be using Rocky Linux 9 and Ubuntu 24.04 in my examples.
Here’s a table with the hardware requirements for VMs based on Zabbix’s documentation:
| Installation Size | Monitored Metrics | CPU/vCPU Cores | Memory (GiB) | Database | Amazon EC2 Instance Type |
|---|---|---|---|---|---|
| Small | 1,000 | 2 | 8 | MySQL Server, Percona Server, MariaDB Server, PostgreSQL | m6i.large / m6g.large |
| Medium | 10,000 | 4 | 16 | MySQL Server, Percona Server, MariaDB Server, PostgreSQL | m6i.xlarge / m6g.xlarge |
| Large | 100,000 | 16 | 64 | MySQL Server, Percona Server, MariaDB Server, PostgreSQL | m6i.4xlarge / m6g.4xlarge |
| Very Large | 1,000,000 | 32 | 96 | MySQL Server, Percona Server, MariaDB Server, PostgreSQL | m6i.8xlarge / m6g.8xlarge |
1 Metric = 1 Item + 1 Trigger + 1 Graph
For example, monitoring a single CPU metric would involve creating:
- 1 Item to collect the data (e.g., CPU usage).
- 1 Trigger to alert when CPU usage exceeds a threshold.
- 1 Graph to visualize CPU usage over time. These components collectively count as a single metric.
Installing the Zabbix Server
Before we actually install the Zabbix server, we need to fulfill some prerequisites. We’ll be using MariaDB as it’s popular and has a lot of information available for use with Zabbix. Run these commands as root.
-
Add the Zabbix 7.0 repository to your system
For RHEL-based systems:1rpm -Uvh https://repo.zabbix.com/zabbix/7.0/rocky/9/x86_64/zabbix-release-7.0-2.el9.noarch.rpm 2dnf clean allFor Ubuntu systems:
1wget https://repo.zabbix.com/zabbix/7.0/ubuntu/pool/main/z/zabbix-release/zabbix-release_7.0-1+ubuntu22.04_all.deb 2dpkg -i zabbix-release_7.0-1+ubuntu22.04_all.deb 3apt update -
Remove the Zabbix EPEL repository packages (if installed) on RHEL systems:
Edit the file:1vim /etc/yum.repos.d/epel.repoAdd the following line:
1[epel] 2... 3excludepkgs=zabbix* -
Add the MariaDB repository:
1wget https://downloads.mariadb.com/MariaDB/mariadb_repo_setup 2chmod +x mariadb_repo_setup 3./mariadb_repo_setup -
Install and enable MariaDB:
For RHEL-based systems:1dnf install mariadb-server 2systemctl enable mariadb 3systemctl start mariadbFor Ubuntu systems:
1apt install mariadb-server 2systemctl enable mariadb 3systemctl start mariadb -
Secure your MariaDB installation:
1mariadb-secure-installationFollow the prompts to set a secure root password.
-
Install the Zabbix server with MySQL support:
For RHEL-based systems:1dnf install zabbix-server-mysql zabbix-sql-scripts zabbix-selinux-policyFor Ubuntu systems:
1apt install zabbix-server-mysql zabbix-sql-scripts -
Create the Zabbix database:
Log in to MariaDB:1mysql -u root -pCreate the database and user:
1create database zabbix character set utf8mb4 collate utf8mb4_bin; 2create user zabbix@localhost identified by 'password'; 3grant all privileges on zabbix.* to zabbix@localhost identified by 'password'; 4set global log_bin_trust_function_creators = 1; 5quit; -
Import the Zabbix database schema:
1zcat /usr/share/zabbix-sql-scripts/mysql/server.sql.gz | mariadb --default-character-set=utf8mb4 -u zabbix -p zabbix -
Disable
log_bin_trust_function_creators:1mysql -u root -p 2set global log_bin_trust_function_creators = 0; 3quit; -
Configure the Zabbix server:
Edit the configuration file:1vim /etc/zabbix/zabbix_server.confUpdate the database settings:
1DBName=zabbix 2DBUser=zabbix 3DBPassword=password -
Start the Zabbix server:
1systemctl enable zabbix-server 2systemctl start zabbix-serverCheck the server status:
1systemctl status zabbix-server 2tail -f /var/log/zabbix/zabbix_server.log
Setting Up the Zabbix Frontend
We will use Nginx to set up the Zabbix frontend.
-
Install the frontend:
For RHEL-based systems:1dnf module switch-to php:8.3 2dnf install zabbix-web-mysql zabbix-nginx-confFor Ubuntu systems:
1apt install zabbix-frontend-php zabbix-nginx-conf -
Configure NGINX:
Edit the configuration file:
For RHEL systems:1vim /etc/nginx/conf.d/zabbix.confFor Ubuntu systems:
1vim /etc/zabbix/nginx.confUpdate the configuration:
1listen 80; 2server_name 192.168.0.50; -
Restart services:
For RHEL systems:1systemctl enable nginx php-fpm 2systemctl restart nginx php-fpmFor Ubuntu systems:
1systemctl enable nginx 2systemctl restart nginx php-fpm -
Access the frontend in your browser:
Navigate to:1http://<your_server_ip>/ -
Complete the installation in the browser:
You should see the Zabbix welcome screen, simply follow the prompts to configure the database and server details.
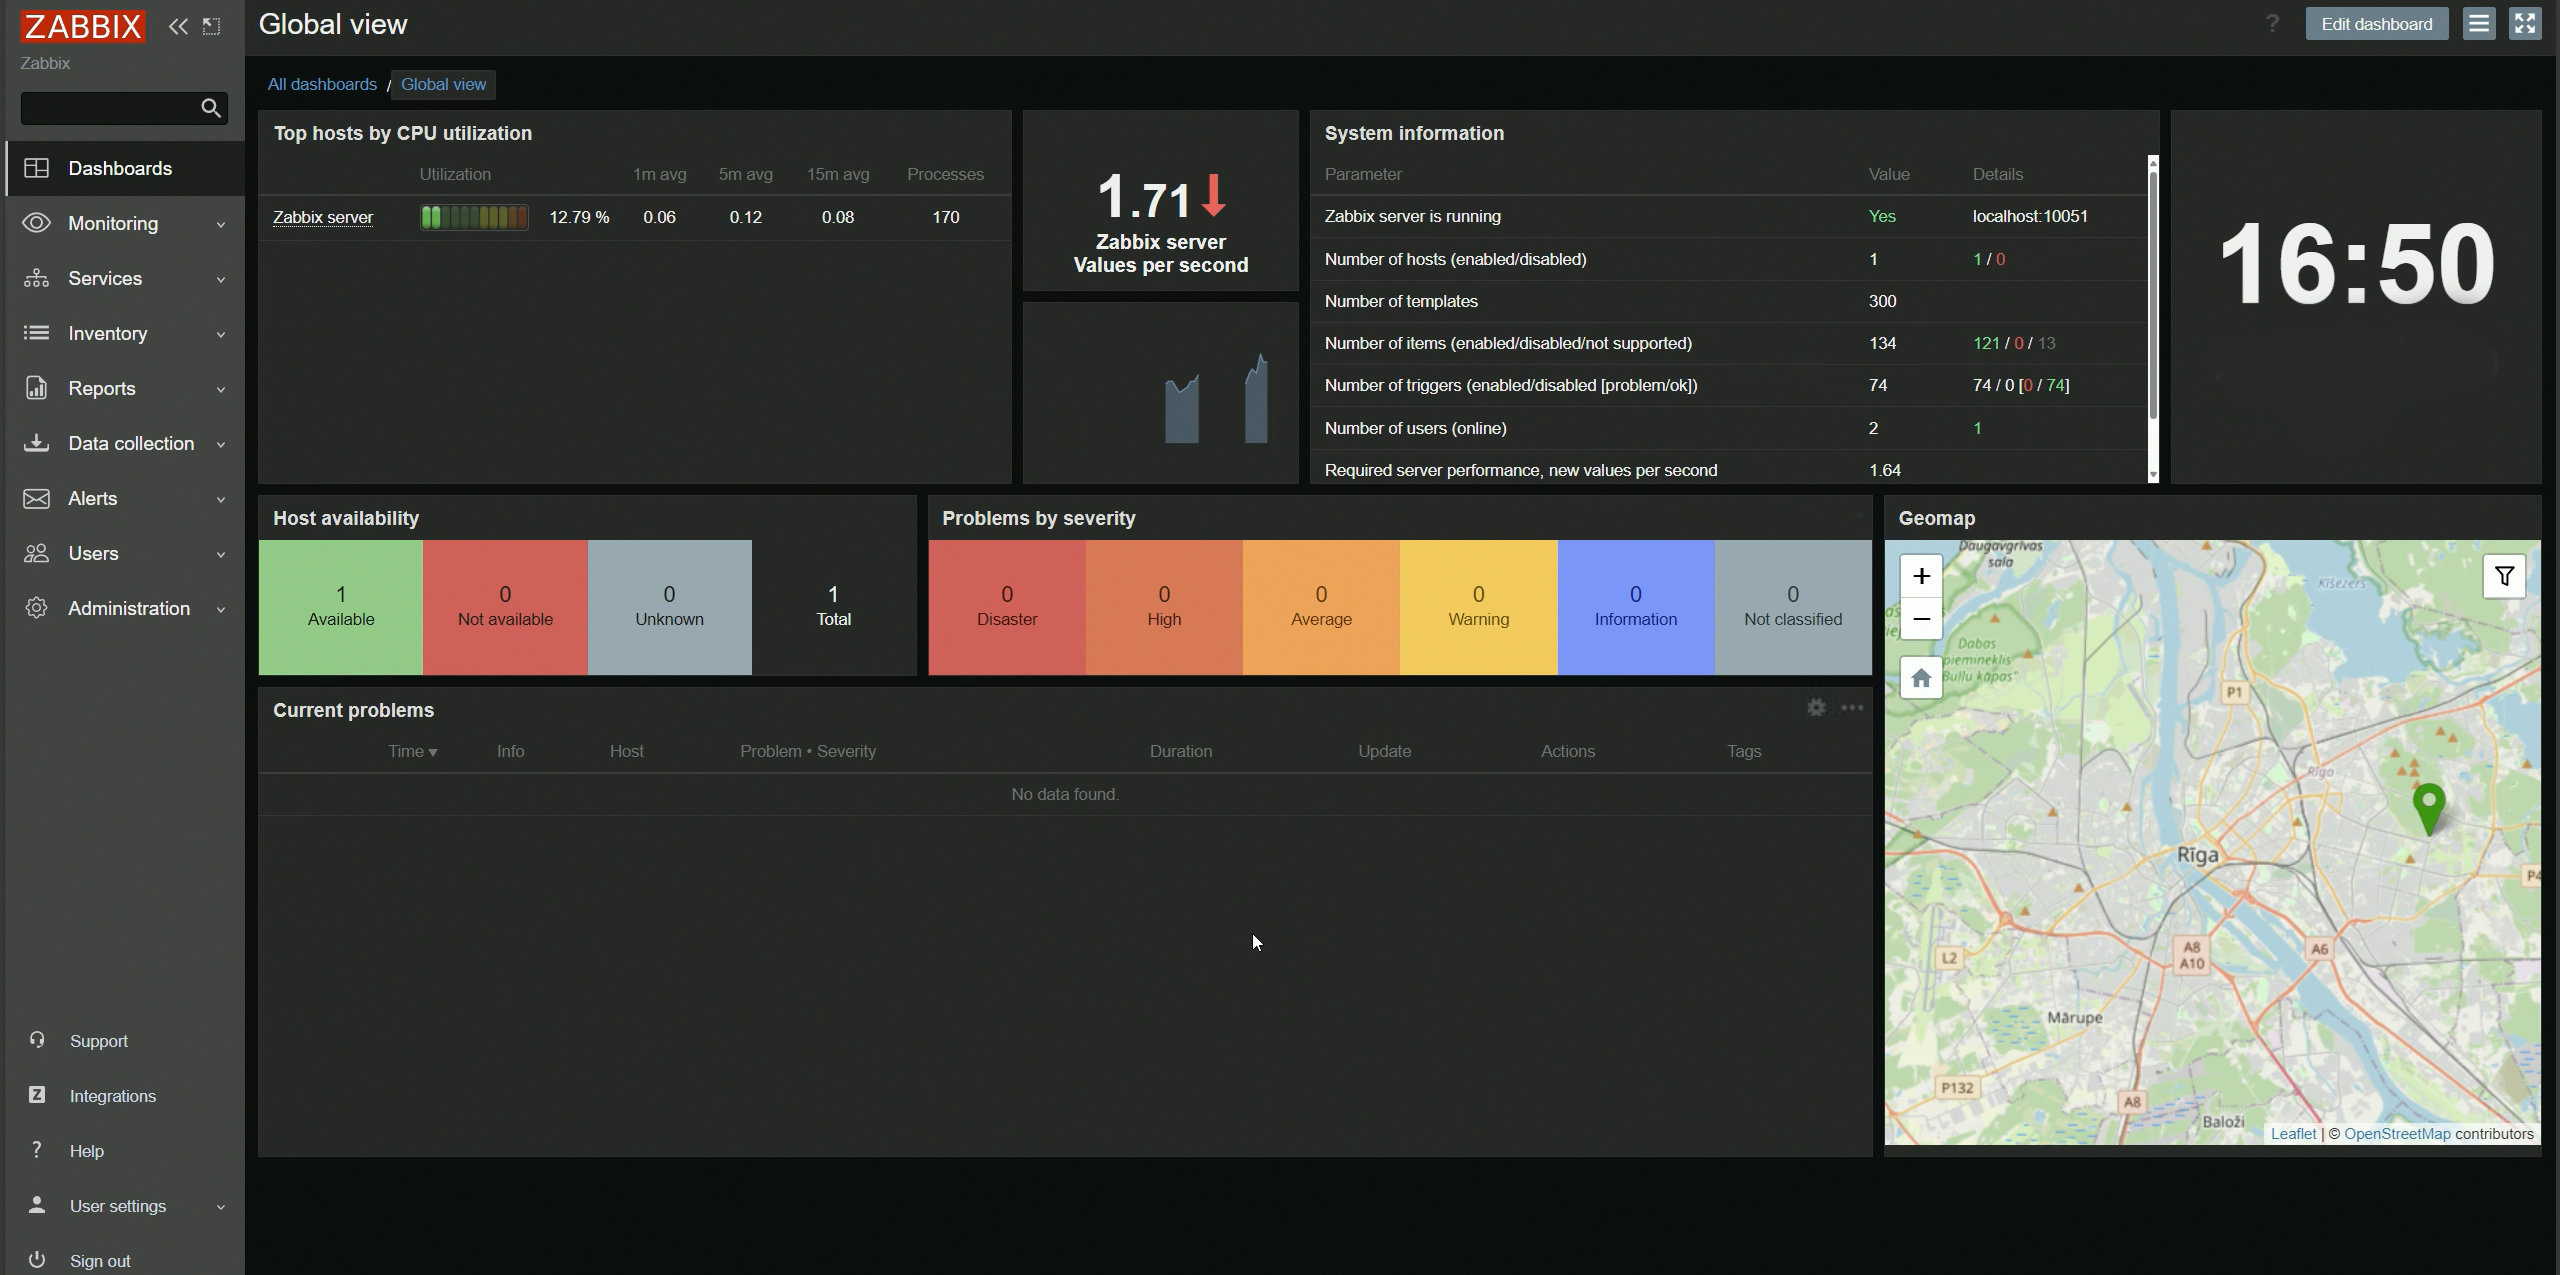
Now that we’ve installed our Zabbix frontend, our Zabbix setup is complete and we are ready to start working with it. Our Zabbix frontend will connect to our database to edit the configuration values of our setup, as we can see in the following diagram:

Enabling Zabbix Server High Availability (HA)
Introduced in Zabbix 6, the High Availability (HA) feature allows for seamless monitoring through an active/passive cluster setup. This ensures continuous operation even if one Zabbix server fails.
Key Features of Zabbix HA:
- Supports clustering multiple Zabbix servers.
- Uses an active/passive setup for the Zabbix server.
- Load balancing is supported via Zabbix proxies.
Getting Ready
Creating an HA setup is considered advanced. Before starting:
- Ensure you have three virtual machines:
- zabbix-ha1 (192.168.0.1)
- zabbix-ha2 (192.168.0.2)
- zabbix-ha-db (192.168.0.10) for the MySQL database
- Set up a Virtual IP for the cluster: 192.168.0.5.
• This setup uses a single MySQL Zabbix database.
• Configure SELinux/AppArmor and firewalls as needed for production.
• Proper time synchronization across servers is critical. Use tools like chrony or ntpd to maintain accurate time settings. Misaligned system clocks can adversely affect the performance of distributed systems and lead to issues with monitoring and database operations.
Setting Up the Database
-
Log in to zabbix-ha-db and install the MariaDB repository:
1wget https://downloads.mariadb.com/MariaDB/mariadb_repo_setup 2chmod +x mariadb_repo_setup 3./mariadb_repo_setup -
Install the MariaDB server:
- RHEL-based systems:
1dnf install mariadb-server 2systemctl enable mariadb 3systemctl start mariadb - Ubuntu systems:
1apt install mariadb-server 2systemctl enable mariadb 3systemctl start mariadb
- RHEL-based systems:
-
Secure MariaDB:
1mariadb-secure-installation -
Create the Zabbix database:
1mariadb -u root -p 2create database zabbix character set utf8mb4 collate utf8mb4_bin; 3create user zabbix@'192.168.0.1' identified by 'password'; 4create user zabbix@'192.168.0.2' identified by 'password'; 5create user zabbix@'192.168.0.5' identified by 'password'; 6grant all privileges on zabbix.* to 'zabbix'@'192.168.0.1' identified by 'password'; 7grant all privileges on zabbix.* to 'zabbix'@'192.168.0.2' identified by 'password'; 8grant all privileges on zabbix.* to 'zabbix'@'192.168.0.5' identified by 'password'; 9set global log_bin_trust_function_creators = 1; 10quit; -
Install the Zabbix SQL scripts module:
- RHEL-based systems:
1dnf install zabbix-sql-scripts - Ubuntu systems:
1apt install zabbix-sql-scripts
- RHEL-based systems:
-
Import the initial Zabbix database configuration:
1zcat /usr/share/doc/zabbix-sql-scripts/mysql/server.sql.gz | mysql --default-character-set=utf8mb4 -u root -p zabbix -
Disable
log_bin_trust_function_creators:1mysql -u root -p 2set global log_bin_trust_function_creators = 0; 3quit;
Setting Up the Zabbix Server Cluster Nodes
-
Add the Zabbix repository on zabbix-ha1 and zabbix-ha2:
- RHEL-based systems:
1rpm -Uvh https://repo.zabbix.com/zabbix/7.0/rocky/9/x86_64/zabbix-release-7.0-2.el9.noarch.rpm 2dnf clean all - Ubuntu systems:
1wget https://repo.zabbix.com/zabbix/7.0/ubuntu/pool/main/z/zabbix-release/zabbix-release_7.0-1+ubuntu22.04_all.deb
2dpkg -i zabbix-release_7.0-1+ubuntu22.04_all.deb
3apt update
- RHEL-based systems:
-
Install the Zabbix server application:
- RHEL-based systems:
1dnf install zabbix-server-mysql zabbix-selinux-policy - Ubuntu systems:
1apt install zabbix-server-mysql
- RHEL-based systems:
-
Configure zabbix-ha1:
1vim /etc/zabbix/zabbix_server.confAdd:
1DBHost=192.168.0.10 2DBPassword=password 3HANodeName=zabbix-ha1 4NodeAddress=192.168.0.1 -
Configure zabbix-ha2:
1vim /etc/zabbix/zabbix_server.confAdd:
1DBHost=192.168.0.10 2DBPassword=password 3HANodeName=zabbix-ha2 4NodeAddress=192.168.0.2 -
Start the Zabbix servers:
1systemctl enable zabbix-server
2systemctl start zabbix-server
Setting Up NGINX with HA
-
Install keepalived on zabbix-ha1 and zabbix-ha2:
- RHEL-based systems:
1dnf install -y keepalived - Ubuntu systems:
1apt install keepalived
- RHEL-based systems:
-
Configure keepalived on zabbix-ha1:
1vim /etc/keepalived/keepalived.confAdd:
1vrrp_instance ZBX_1 { 2 state MASTER 3 interface ens192 4 virtual_router_id 51 5 priority 244 6 authentication { 7 auth_type PASS 8 auth_pass password 9 } 10 virtual_ipaddress { 11 192.168.0.5/24 12 } 13} -
Configure keepalived on zabbix-ha2:
1vim /etc/keepalived/keepalived.confAdd:
1vrrp_instance ZBX_1 { 2 state BACKUP 3 interface ens192 4 virtual_router_id 51 5 priority 243 6 authentication { 7 auth_type PASS 8 auth_pass password 9 } 10 virtual_ipaddress { 11 192.168.0.5/24 12 } 13} -
Install the Zabbix frontend:
- RHEL-based systems:
1dnf install nginx zabbix-web-mysql zabbix-nginx-conf zabbix-selinux-policy - Ubuntu systems:
1apt install nginx zabbix-frontend-php zabbix-nginx-conf
- RHEL-based systems:
-
Configure NGINX:
- RHEL: Edit
/etc/nginx/conf.d/zabbix.conf - Ubuntu: Edit
/etc/zabbix/nginx.conf1listen 80; 2server_name 192.168.0.5;
- RHEL: Edit
-
Start the web server and keepalived:
1systemctl enable nginx keepalived 2systemctl start nginx keepalived -
Configure the Zabbix frontend via your browser by navigating to:
1http://192.168.0.5/
How It Works
The Zabbix HA setup includes two nodes (zabbix-ha1 and zabbix-ha2) connected to a single database (zabbix-ha-db) using a VIP (192.168.0.5). HA ensures that:
- If one node fails, the other takes over.
- Keepalived monitors NGINX to switch the VIP to the active node.
For advanced HA, consider using a MySQL master/master replication setup. Learn more in the MariaDB documentation.
To wrap up, this guide has taken you through installing Zabbix with high availability to ensure reliable and continuous monitoring.
Stay tuned for my upcoming post, where I’ll dive into setting up and customizing Zabbix monitoring, creating alerts and triggers, building structured templates, and visualizing your data through dashboards, reports, and more.